How to Clear and Mark a Septic Field Area Before Construction

Last updated: October 24, 2026
Quick Answer: Clear and mark the septic field area before any excavation starts, because once construction equipment crosses the drain field area, the damage is easy to make and expensive to undo. In How to Clear and Mark a Septic Field Area Before Construction, the job is to protect the future septic field, show its boundaries plainly, and keep topsoil, stakes, and temporary fence in place until the site is ready for the installer.
What you need before you touch the site
You need the septic design, the permit set, a tape measure, survey stakes, bright flagging, and a plan for where construction equipment will travel. When the layout includes a drain field area, consult the site-specific design or the designer before treating that plan as off-limits. See the EPA’s septic guidance at https://www.epa.gov/septic for setback and siting rules.
Start with the drawing from the soil and permit process, not with a shovel. The drawing should show the field shape, setbacks, and the location of the tank and reserve area if one is included. Keep a copy where you can mark it up in the field. For permit and installation basics, see this related guide: /septic-tank-permit-process and /septic-system-installation-basics.
Have these items ready before you begin:
- 8 to 12 survey stakes for corners and line ends
- High-visibility flagging or surveyor’s ribbon
- A roll of temporary fence or orange construction fencing
- A measuring tape long enough to span the widest part of the field
- Paint or flags for entry points and no-go edges
- A simple site sketch to note tree trunks, drive paths, and material stacks
Do not guess at the field line by eye when a surveyor or installer has not already staked it. A 3-foot mistake can put access, stockpiles, or wheel loads where the system needs undisturbed soil. That kind of miss can stall a project before the first foundation form goes in. Ugly, but true.
For a broader context on permitting and soil work, the site evaluation, soil, and permits hub belongs upstream of this job. See /site-evaluation-and-soil-testing for the related process.
How to mark a septic field area so everyone sees it
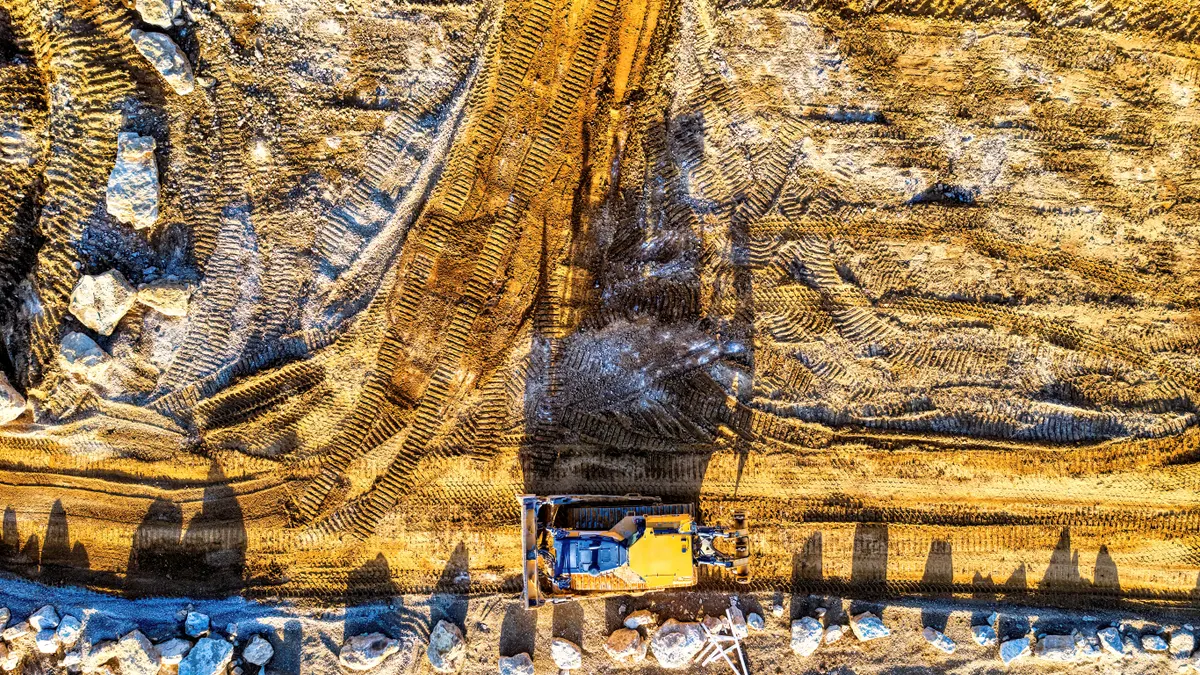
Mark the septic field area with stakes at corners, flagging on every line, and a temporary fence where vehicles or tradespeople might drift. The goal is not decoration; the goal is a boundary a framer, excavator, or delivery driver can recognize in 10 seconds.
Use the permit plan and set the first stake at a fixed point, such as a corner of the proposed field or a surveyed benchmark. Measure the remaining corners and line ends from that point. For a rectangular field, square the corners with a tape and make sure opposite sides match the design. For an irregular field, follow the approved layout exactly.
Then run flagging between stakes at knee height and again near eye level if the area is busy. Bright tape at two heights is easier to notice than one low strand tied to a stake. For a long field edge, place additional stakes every 8 to 10 feet so the line reads as a barrier, not a suggestion.
Temporary fence helps where people or machines will pass nearby. Set fence posts just outside the field boundary so the protected area stays untouched. Where the site is tight, use fencing to block the most likely shortcut, not every square foot of ground. For layouts with narrow access, a /construction-site-layout-guide can help keep the route organized.
What “worked” looks like:
- The field edge is visible from the normal entry route
- A person can trace the outline without opening the plan
- No equipment path crosses the flagged side of the area
- The reserve area, if one exists, is marked separately
Paint alone is a weak shield. Mud, tires, and foot traffic wear it down fast, especially on a site that sits open for several weeks.
How to clear the septic field area without damaging it
Clear only surface growth and debris, and leave the soil structure intact. That means brush, loose trash, and shallow organic clutter come off the top, while grading, cutting, and deep stump removal stay off the field unless the design specifically calls for it.
Start by removing hand-sized debris, loose branches, and anything that could snag fencing or hide the stakes. If there is light brush, cut it at ground level and pull the tops away without ripping the roots. In the field itself, avoid using a loader bucket as a rake. It is too easy to scrape off topsoil and compact the ground in one pass.
Tree work needs a careful call. Small saplings and invasive brush are usually simpler to remove than mature trees, but the trunk, root flare, and root zone can matter to the drainage area and to the future installation. When the design says a tree must stay, protect it with fencing around the dripline, not just a ring around the trunk. A tree with a 12-inch trunk can still have a much wider root zone than most people expect.
Elsewhere on the lot, if topsoil has to be stripped, keep the stockpile away from the marked field. Do not pile mulch, stone, or fill on the future drain field area “just for now.” Even a short-term pile can compact the ground enough to affect the system later.
The result you want is simple: the site looks clean, but the ground still has its natural grade, cover, and structure. When tire tracks are already visible, the area is not protected well enough. For soil-protection basics, see /soil-compaction-prevention.
Where to stage materials and route construction equipment
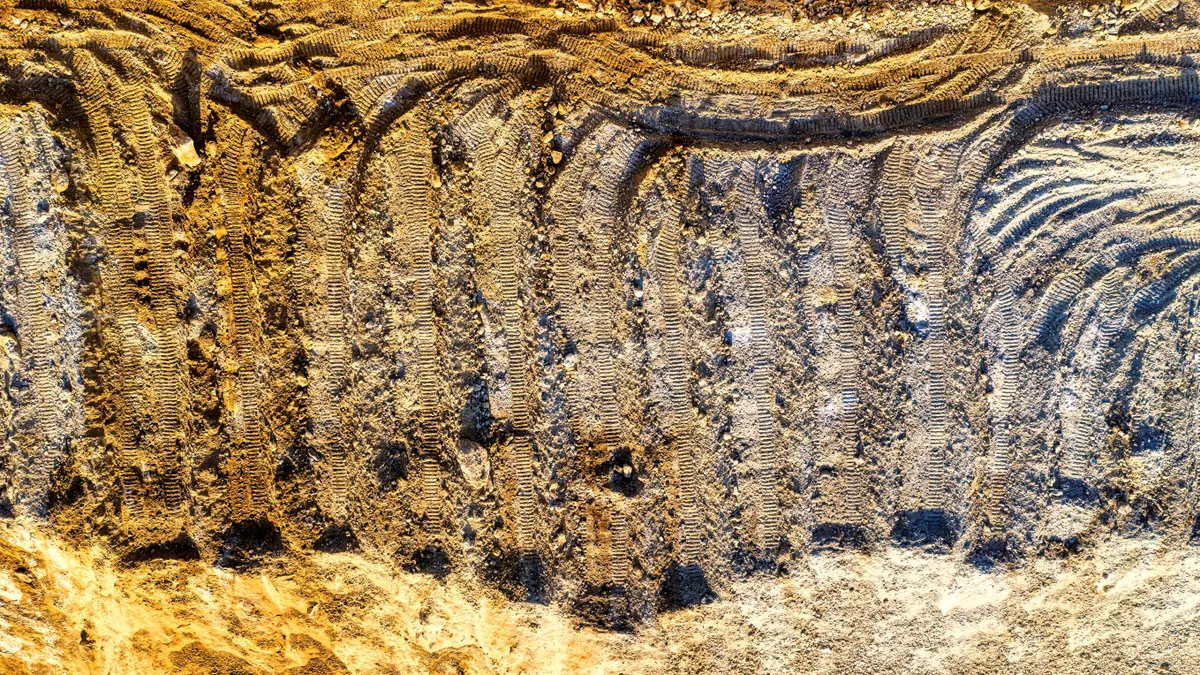
Stage materials outside the marked field and route construction equipment around it on the firmest existing path. A single clean access lane and one dedicated storage zone often work well, as long as both stay outside the septic field area and its reserve area.
Pick a staging spot that has room for pallets, forms, framing bundles, or dumpsters without forcing trucks to turn across the protected ground. A 20-foot buffer is a practical starting point when the lot allows it, but the real rule is simpler: if a loaded truck would need to pivot or back up over the field, the staging area is wrong.
Keep heavy equipment on the same path every time. Repeated crossings with a skid steer, excavator, or dump truck compact soil fast, even when the wheels do not leave visible ruts. Compaction is the quiet damage here; the surface may look fine while the soil below is already too tight for the future field work. For more on routing and access, see /construction-traffic-control.
Mark a separate turn-around if deliveries are frequent. When trucks must enter the site, place cones or stakes at the edge of the travel lane so nobody “just cuts across” the open ground. A temporary fence works well when there is room to create a hard edge between the path and the protected area.
Use these checks before any delivery:
- The truck route does not cross the flagged field
- The driver can unload without backing into the boundary
- Staged materials will not leak, settle, or slide onto the marked area
- No stockpile blocks the installer’s future access
When the site is too tight to keep equipment out of the field, stop and redesign the logistics. Forcing the issue now can create a repair problem that shows up much later.
How to protect trees, topsoil, and the reserve area
Protect trees, topsoil, and the reserve area by treating them as separate assets, not as leftover space. A septic field area often fails on paper before it fails in the ground because someone used the “unused” corner for storage or access.
When a tree stays, fence around the root zone before clearing begins. The fence should sit well outside the trunk, because damage usually comes from repeated traffic and grade changes, not just from cutting. Avoid trenching through roots unless the design and installer have already accounted for it. When the tree protection needs are unclear, consult the designer or an arborist before moving the fence.
Topsoil should be handled with restraint. If the project needs stripping in another part of the site, keep the stockpile on durable ground, not on or beside the septic field. A pile that sits too close can slump, spread fines, or invite traffic across the edge of the protected area. When topsoil is meant to stay in place for final seeding, do not scrape it off the field “to make it neat.”
Reserve area markings deserve the same seriousness as the primary field. When the permit or design sets aside a future replacement area, mark it separately with a different color of flagging or a second fence line. That keeps an impatient crew from using the reserve space for stored trusses, excavator turns, or spoil. When the reserve area is close to the work zone, confirm the layout with the installer or designer before you use the space for anything else.
What to watch for:
- Tree protection fence stays intact after every workday
- No soil pile encroaches on the boundary
- The reserve area is still readable after materials arrive
- The field edge remains visible after rain or wind
This section is where many projects go wrong. The field itself may be safe, but the surrounding shortcuts can still compact the soil or blur the boundary enough to invite one bad decision later.
Common mistakes that cost time or force rework
The most common mistakes are guessing the layout, using the field as a shortcut, and treating temporary storage as harmless. Each one can cost you access, delay the installation schedule, or leave the installer with a damaged site to work around. When the boundary is unclear, consult the surveyor or installer before work continues.
Guessing at the boundary is the first bad habit. A row of flags without measurements looks tidy until a wheelbarrow, trenching machine, or delivery pallet ends up inside the protected zone. Always tie the mark-out back to the plan with a tape measure or survey reference when the site is laid out or reset.
Using the field as a crossing point is the second mistake. A single pass by a loaded machine can compact a strip that later needs to drain. The fix is simple: create one defined access lane and keep it open, even if that means more walking for the crew.
Staging materials on the marked area is the third. It often starts with “just for an hour” and becomes a week of crushed grass, flattened stakes, and a fence that no one notices anymore. Move stacks off the site as soon as they arrive, or place them where they cannot creep into the boundary.
A fourth mistake is clearing too aggressively. Deep ripping, stump removal, or scraping to bare subsoil can change the grade and soil structure the installer depends on. When the plan does not call for that work, leave it alone. For a step-by-step checklist, see /site-clearing-checklist.
A practical rule helps: if the action would leave a tire track, rut, or scraped strip deeper than a few inches, it does not belong in the field area.
Final check before construction starts
Do one last walk-through the day before construction begins, and make sure the septic field area still looks protected from the road, the driveway, and the main work zone. This final pass catches the little failures that happen after the first setup.
Check that every stake is visible, every line still has flagging, and the temporary fence has not been moved to “make room.” Verify that the equipment route is obvious enough that nobody has to ask where to drive. When the field border can only be found by looking at a plan, it is not marked well enough.
Confirm that the field has no stacked materials, no parked equipment, and no fresh tire marks. Look at the reserve area too, because crews often treat it as extra storage when they are busy. When the trees are protected, the fencing should still stand in a complete ring or line with no gaps.
When any of that fails, stop the next move and fix the marking first. A 15-minute correction now is cheaper than reworking a damaged field later. That is especially true on tight sites where the drain field area sits close to the driveway or house pad.
Key Takeaways
- Mark the field with measured stakes, bright flagging, and a barrier that is visible from the normal work path.
- Keep heavy equipment and staging areas outside the protected ground, even if it means a less convenient route.
- Protect trees, topsoil, and the reserve area as separate items, not as spare space.
- Use the final walk-through to catch missing fence sections, moved stakes, and stray material piles before work starts.
- When the boundary is unclear to a newcomer, the site is not ready yet.
Should you clear trees before a septic install?
Not automatically. Clear only the trees that conflict with the approved septic field area, access path, or installation plan. Mature trees can affect layout, roots, and soil conditions, so the safer move is to follow the permit set and ask the installer or designer before removing anything with a significant trunk or root system. For tree-protection standards, see the ISA at https://www.treesaregood.org/treeowner.
How do you mark a drain field area?
Mark it with survey stakes at the corners or ends, bright flagging along the full boundary, and temporary fence where vehicles or workers might stray. The marking should match the approved design, not an estimate from the ground. When the field has a reserve area, mark that separately so it does not get used as staging space.
Can construction traffic go over a septic field area?
No, not unless the design and installer specifically allow it for a short, controlled reason. Construction traffic can compact soil and damage the future drain field area even when the ground looks fine afterward. Use a separate access lane, and keep trucks, loaders, and material deliveries outside the marked boundary.
Drafted with AI; not yet reviewed by a person.