Percolation Test for Septic System Installation: What to Expect
Last updated: September 10, 2026
Key Takeaways
- A common depth is around 6 to 18 inches below the planned infiltration surface, but local rules vary.
- Check whether the local procedure calls for 4 hours, 12 hours, or a different soak period.
- When one hole starts at 6 inches and another at 4 inches without explanation, the comparison is weak.
- A percolation test, usually called a perc test, measures how quickly water drops through a soil hole.
A percolation test for septic system installation: what to expect comes down to local rules, but the aim never changes: figure out whether the soil can take wastewater at a rate that supports a septic drain field. On a lot with private sewage disposal, that test is often the fork in the road. If you are trying to learn whether a conventional septic system is even on the table, this percolation test for septic system installation is usually the step that settles it.
Who this applies to, and what you need before the test starts
Property owners planning a new septic system, a replacement drain field, or a major remodel that changes wastewater flow all fall into this category. So do people whose local health department wants a soil evaluation before it will issue a permit. I am assuming you already have a rough idea of where the proposed house, tank, and leach field might go, and that you know this is not a landscaping project you can wing with a shovel and guesswork. Really, it is field science with paperwork attached.
A percolation test, usually called a perc test, measures how quickly water drops through a soil hole. The reading helps a designer size the absorption area. In many places, though, the perc test is only one piece of approval. Soil texture, seasonal groundwater, bedrock depth, slope, and setbacks from wells, streams, and property lines can matter just as much. So a good perc result does not automatically mean approval, and a poor one does not always mean the lot is dead. See your local health department rules and, where applicable, state guidance such as the U.S. EPA’s overview of septic systems: https://www.epa.gov/septic.
This is a job for a qualified septic designer, engineer, or licensed soil professional in many jurisdictions, especially where the rules require a formal soil evaluation instead of a simple hole-and-water test. I would treat DIY digging as useful only for learning your site, not for replacing the actual permit process, and you should consult a professional or your local health department before relying on any home test. Shallow bedrock, a high water table, fill soil, a steep slope, or old drainage problems? Stop guessing. Use the local process from the start. Those conditions can change the system type entirely. For local permitting steps, check your county or state septic guidance, or a public resource such as the National Environmental Services Center’s septic information: https://www.nesc.wvu.edu/.
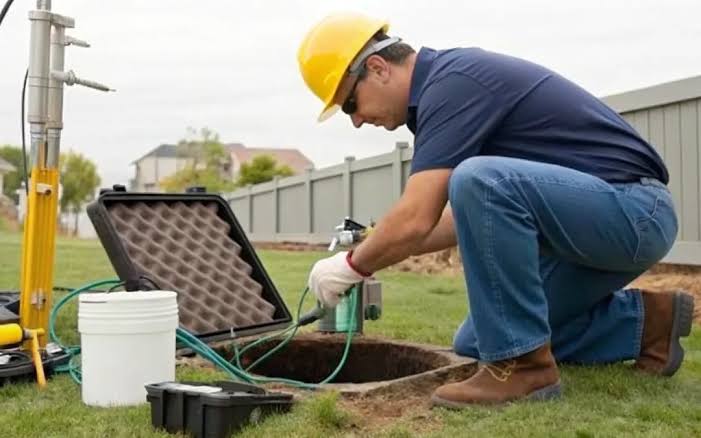
If you are hiring this out, you need three things before anyone arrives: a site plan or sketch with approximate house location, a utility locate so nobody cuts a line, and an answer on where the test area is supposed to be. In some counties, the fee is tied to the permit application; in others, the contractor charges separately for the test and the soil report. Either way, the test itself is only one day, but the permitting path can take longer if the site needs a redesign. Ask the local office whether the fee is $100, $250, or more, because some jurisdictions publish a fixed rate while others do not.
What actually happens during a septic perc test?
Usually, the process starts with one or more holes dug in the proposed absorption area, then filled with water and watched over time. Simple in theory. Not always simple in practice. The details matter because the result affects the size and type of system you can install.
Here is the sequence I would expect on a normal residential lot:
- Mark the proposed drain field area and test holes. Using the approved plan, the tester lays out the area, usually at the downhill or designated dispersal zone. Make sure the holes are in the actual proposed field, not just some handy patch of dirt. If they land too close to fill dirt, a driveway, a ditch, or a tree line, the reading may not reflect the usable area.
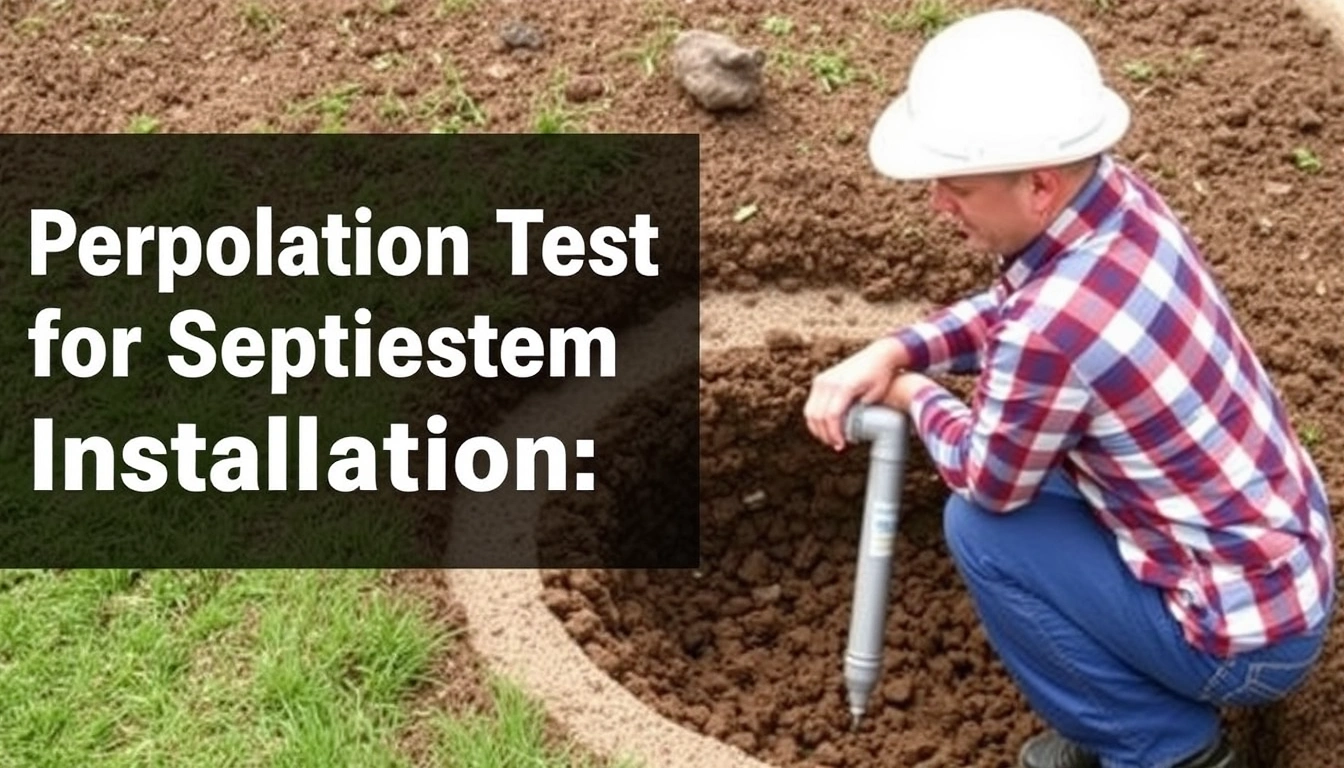
- Dig test holes to the required depth. A common depth is around 6 to 18 inches below the planned infiltration surface, but local rules vary. Check the hole depth against the code or health department instructions before the test begins. Too shallow or too deep, and the reading can be invalid for the intended system design.
- Scarify the sides and bottom. The tester roughens the soil surface so the hole is not polished by the shovel or auger. Confirm that the walls are not glazed smooth. A slick, compressed wall slows water movement and can make decent soil look worse than it is.
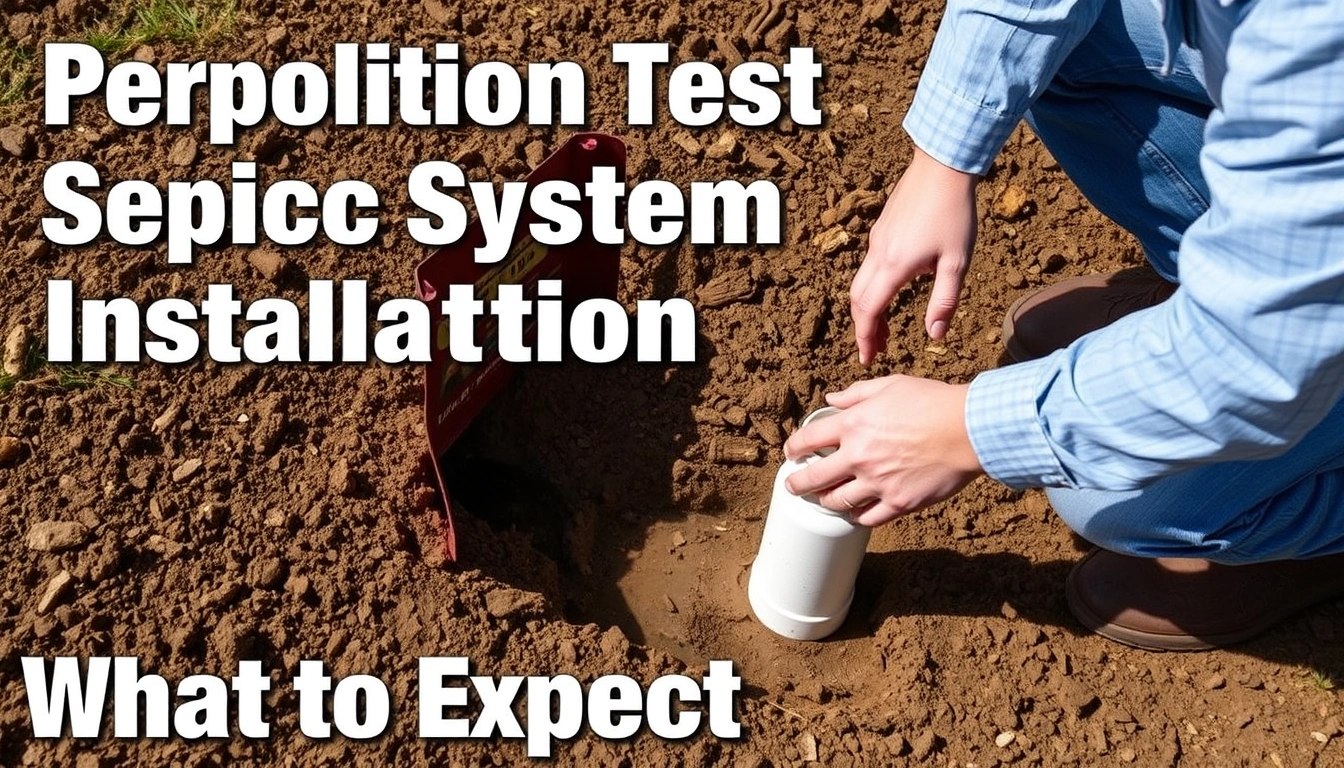
- Pre-soak the holes. Many protocols call for saturating the soil for several hours or overnight, especially in dry conditions. Check whether the local procedure calls for 4 hours, 12 hours, or a different soak period. If the soil is still bone dry and the test is skipped or rushed, the first reading can be misleading.
- Refill to a known water level. The tester brings the water to a fixed depth, often measured from the bottom or from a marked point in the hole. Make sure the same reference depth is used for every hole. If one hole starts at 6 inches and another at 4 inches without explanation, the comparison is weak.
- Measure the drop over time. Water level is checked at set intervals until the drop rate stabilizes. In many local protocols, the reading is taken in minutes per inch or inches per hour, depending on the jurisdiction. Confirm that the tester records the time and the water loss for each hole separately. If the water disappears almost instantly or hardly moves after a long wait, that tells you a lot — and not in a flattering way about sandy or tight clay soil.
- Average the results and apply local design rules. Usually, the slowest representative hole governs the system design, though some places use an average or require a more detailed soil evaluation. Check how the final number was calculated. A hidden average can cover up a bad spot and lead to a field that is too small.
- Compare the result with the permitted system type. The perc rate is used with setbacks, slope, trench depth, and daily flow to decide whether a standard gravity system, an alternative system, or no conventional system is allowed. Make sure the final report names the allowed system type, not just the raw perc number. If the report only gives a number and no design guidance, it is incomplete for permitting in many areas.
A test can take 2 to 8 hours on site if the soil is straightforward, or most of a day if pre-soaking and multiple holes are required. Speed is not the point. What matters is whether the numbers match the actual soil the system will use. Bad results usually show up as wildly inconsistent readings between holes, water that stands in the hole, or a site that fails before the formal test even ends. For examples of how local rules can vary, compare county septic manuals before you schedule the visit.
How much does a perc test cost, and what changes the price?
A perc test usually costs a few hundred dollars to more than a thousand, depending on local rules, site difficulty, and whether a full soil evaluation is bundled in. I am keeping that broad on purpose because prices swing too much by county, soil type, and permit pathway to give one clean universal number without making things up.
Labor is only part of it. A site with steep slope, dense brush, rocky subsoil, wet conditions, or multiple required test locations can take longer and may need an engineer or licensed soil scientist instead of a basic contractor visit. If the county requires a full soil report, that adds time and paperwork. If the first test fails, a redesign and retest can cost more than the initial visit. The EPA and state health departments both note that site conditions can change what a system costs and whether a conventional layout is allowed.
Access changes the bill, too. If the tester has to haul equipment a long distance, work in mud, or come back after rain because the soil was too wet to read properly, the total can rise. Some properties need test pits instead of simple holes, and excavation equipment costs more than hand digging. If your lot is wooded or has old fill from construction, expect more uncertainty and possibly more than one location to be evaluated. The University of Minnesota Extension notes that soil and seasonal conditions can affect both siting and cost: https://extension.umn.edu/septic-systems.
Then there is the permit side. Some health departments charge an application fee, a review fee, or a separate septic permit fee on top of the test. On a simple lot, the paperwork may be quick. On a tricky site, the design may need revisions before approval, and that can add days or weeks even if the fieldwork itself is short. Check the local fee schedule before you budget, because a $300 test can turn into a much larger total once review and permit charges are added.
Honestly, the cheap option can be a false bargain. If the person doing it is not following the local protocol, you may pay twice: once for the test and again for the redesign or retest. For a buyer deciding who to call, I would pick someone who can explain the county’s exact process in plain language over someone who only promises the lowest number.
What does a good result look like?
A good result is one that supports a permitted system on your actual lot without forcing the drain field into a bad location. In plain terms, the soil drains at a rate the design can handle, the groundwater is deep enough, and the proposed field fits required setbacks from wells, property lines, foundations, streams, and other protected features.
The exact pass/fail line depends on the local health code. Some soils drain too fast, which can mean effluent moves through before enough treatment happens, so a designer or local health department may call for a different system or added treatment. Other soils drain too slowly, so the field stays saturated and backs up. Either problem can rule out a standard gravity system. What you want, in many areas, is the middle ground: not so fast that the soil offers poor treatment, and not so slow that the field floods. For that reason, consult a local septic professional rather than assuming a single number is enough. That number alone is a trap.
A good result also comes with a usable paper trail. I want to see the hole locations, depths, water readings, date, weather conditions if relevant, and the name of the person who performed the test. If the report does not tie the numbers to the site plan, it is harder to defend during permitting. A vague “passed” without data is not enough for a job that depends on measured soil performance. For site planning, it also helps to keep the perc report with your permit file and property records.
One mistake people make is treating a pass as a promise. It is not. A perc test reflects the tested spot, at the tested depth, under the tested conditions. If the planned field ends up in a different patch of soil, or if the lot is disturbed later by grading or compaction, the original result may no longer fit. I would still want the designer to confirm that the actual layout matches the approved test area within a tight tolerance, and I would check that with the health department or engineer before construction.
What should make you stop and call for a different approach?
A conventional septic layout is the wrong tool in several specific situations, and forcing it usually costs more than changing course early.
Standing water in the test hole after a reasonable soak: The soil may not be accepting water fast enough for a standard gravity field; ask a septic designer or local health department about an alternative system, mound, or engineered design rather than trying to “wait it out.”
Very fast drop in sandy soil: Water disappears too quickly, which can mean poor treatment in the native soil; the designer may need a larger absorption area or a different treatment approach.
Shallow bedrock or hardpan within the required depth: There is not enough soil for treatment; stop planning for a conventional trench field until the local code review says what is allowed.
High groundwater or seasonal saturation: The field may flood during wet months; a raised or advanced treatment system may be required.
Steep slope or unstable fill: The field can fail by runoff, erosion, or compaction; relocate the system or redesign the site layout.
Conflicting test results between holes: The site is patchy, with one acceptable area and one bad one; do not average away the problem, and ask whether the exact intended field location needs retesting or redesign.
These are not small inconveniences. They can mean a failed permit, a system that backs up after a wet season, or a field that has to be torn out later. If the site is marginal, I would rather hear that during the testing phase than after the tank is already installed and trenches are cut. A licensed designer can also tell you whether a repair, replacement, or alternate technology is more realistic.
The mistakes people make, and what they cost
The biggest mistake is treating a perc test like a formality. It is not. It decides whether the site can support wastewater dispersal, and a bad assumption can cost a redesign, a second permit fee, or a system change after excavation has already started.
Another mistake is testing the easiest patch of ground instead of the proposed field area. The cost is obvious: a pretty reading on the wrong soil and a permit problem later. The correct move is to test the exact area that will be used, at the exact depth required.
A third error is ignoring recent weather. Heavy rain can push groundwater up and make the soil seem worse than average. Extremely dry weather can also distort results, especially if the test was not pre-soaked. The fix is to follow the local timing rules and record conditions honestly, not to pick a day that flatters the site. Your local health department often explains when weather makes a test invalid.
People also forget about compaction. Driving trucks or storing materials over the future drain field can crush pore space in the soil. That makes the field behave like tighter clay. The right alternative is to protect the area before construction starts and keep heavy equipment off it.
A fifth mistake is buying into the idea that a good perc number alone solves everything. It does not. Setbacks, slope, soil depth, and seasonal saturation can still rule the site out. The correct alternative is a complete soil and site evaluation, not a single number on a page.
Finally, some owners wait until the house plans are finished before checking the septic feasibility. That can force expensive redesigns if the field has to move, shrink, or become an engineered system. The safer route is to test early, before foundation layout locks in the rest of the plan.
When the standard guidance does not apply
The normal perc-test playbook changes when the lot is not a clean, flat, dry piece of native soil. If the site has imported fill, the test may need to happen in native subsoil below the fill layer, or the fill may be disallowed for absorption entirely. On a shoreline, near wetlands, or in a mapped floodplain, local rules can be much stricter and may require larger setbacks or a special design review.
Cold regions add another wrinkle. Frost depth, seasonal groundwater, and short construction windows can shape when the test can be done and how the system is installed. In some places, the test is only valid for a certain period before it must be repeated. If the permit process stretches over a season, ask whether the result expires.
Clay-heavy areas are another special case. The soil may pass slowly enough that a standard trench field is undersized or disallowed, but not so badly that the lot is dead. That is where an engineered solution, pressure distribution, or a raised bed may come into play. The test result still matters, but it no longer tells the whole story.
Rocky mountain lots, coastal sand, and reclaimed land each need local judgment. There is no honest universal answer for those sites because the code, the groundwater, and the soil profile vary too much. If your property falls into one of those categories, the best next step is a local professional review before you spend money on a design that may never be approved.