New Septic System Installation Process: The Complete Guide
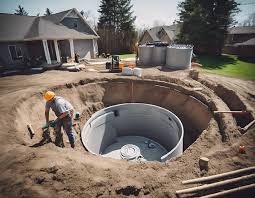
Last updated: September 10, 2026
Key Takeaways
- A vague “around $12,000 to $25,000” without knowing soil, access, and permit requirements is not a meaningful estimate.
- Installing a new septic system is a site-specific construction job, not a one-size-fits-all household project.
- A new septic system is not a casual DIY project in most places.
- Site evaluation, design, permit submission, excavation, tank setting, and final approval usually require licensed or otherwise qualified work.
Installing a new septic system is a site-specific construction job, not a one-size-fits-all household project. This guide lays out the septic system installation process from the first site check to final approval, so you can see what happens, in what order, for a legal system sized correctly for your lot.
Who this is for, and who should do something else
This new septic system installation process guide is for a property owner, builder, or buyer who needs enough grounding in the septic system installation process to hire the right contractor, read a proposal, and spot a bad plan before it gets buried. I’m assuming you already know the basic pieces: the tank stores wastewater, the drain field disperses it, and the local health department or environmental office usually controls permitting. I’m also assuming you’re dealing with a typical residential system in the range commonly used for a single-family home, but exact tank size depends on local code, bedroom count, and design flow, so confirm it with the permitting authority or a licensed designer. EPA Septic Systems Overview
A new septic system is not a casual DIY project in most places. Site evaluation, design, permit submission, excavation, tank setting, and final approval usually require licensed or otherwise qualified work. You can still handle a few limited tasks yourself: clearing access, protecting landscaping, reviewing drawings, and asking sharp questions. But don’t treat soil evaluation, sizing, field layout, or final connections as “learn as you go” work; consult a licensed septic professional and review local public-health guidance before anything starts. CDC Septic Systems
The right reader for this guide is someone trying to avoid three expensive failures: a system undersized for the house, a drain field placed in the wrong soil, or a permit that never should have been approved. The wrong reader is someone hoping for a cheap shortcut. Septic work does not reward shortcuts. Too small, too shallow, or too close to groundwater, and the system may seem fine for a while before turning into a costly mess.
Climate, frost depth, groundwater, and local code matter. A design that passes in a sandy rural lot in one county may fail in a clay-heavy or high-water table area two miles away. If your site has a shallow lot, steep slope, floodplain exposure, bedrock, or seasonal wetness, the usual answer changes fast. And the “standard” layout may be the wrong tool entirely.
What has to be decided before a shovel hits the ground?
The system has to be sized, sited, and permitted before excavation begins. That is the real starting line, and it’s where many owners burn time by calling for bids too early. The new septic system installation process starts here, not at the excavator.
Three things usually drive the first decisions in a new septic system installation process: the number of bedrooms or expected daily flow, the soil’s ability to absorb treated effluent, and the physical space available on the lot. In many jurisdictions, bedroom count drives the design flow more than square footage does. A three-bedroom home often needs a very different system than a five-bedroom one, even if both houses are similar in size. Local rules may also require a reserve area for a future drain field replacement. That reserve space can be the difference between getting approved and getting denied. National Onsite Wastewater Recycling Association
The soil evaluation is not window dressing. A perc test, or percolation test, measures how quickly water moves through soil. Some areas now use a full soil profile or site evaluation instead of, or in addition to, a perc test. Either way, the installer or designer wants to know the texture of the soil, the depth to restrictive layers, the depth to seasonal groundwater, and whether bedrock is near the surface. Clay, high groundwater, fill dirt, or shallow ledge can push the design toward an elevated mound, drip system, aeration unit, sand filter, or another alternative treatment method; consult a local septic designer or health department before assuming a conventional layout will work. EPA Onsite Wastewater Treatment Systems
Before anyone quotes a price, the contractor should know the site constraints. A vague “around $12,000 to $25,000” without knowing soil, access, and permit requirements is not a meaningful estimate. Access alone can swing the job. If a truck can back to the dig area, excavation is simpler. If the lot is tight, wooded, sloped, or fenced, labor and equipment time go up.
I’d ask for these items before approving a design:
– The proposed tank size in gallons.
– The drain field type and length or square footage.
– The minimum setback distances to wells, property lines, buildings, and water bodies.
– The elevation relationship between the house outlet, tank inlet/outlet, and drain field.
– Whether the design assumes gravity flow or a pump.
A strong contractor should be able to explain the local permit path in plain language. If they can’t tell you which office approves the system, what inspections are required, and whether the final as-built drawing is part of closeout, stop there. A septic job without a permit trail is a problem waiting underground.
How is a new septic system installed, step by step?
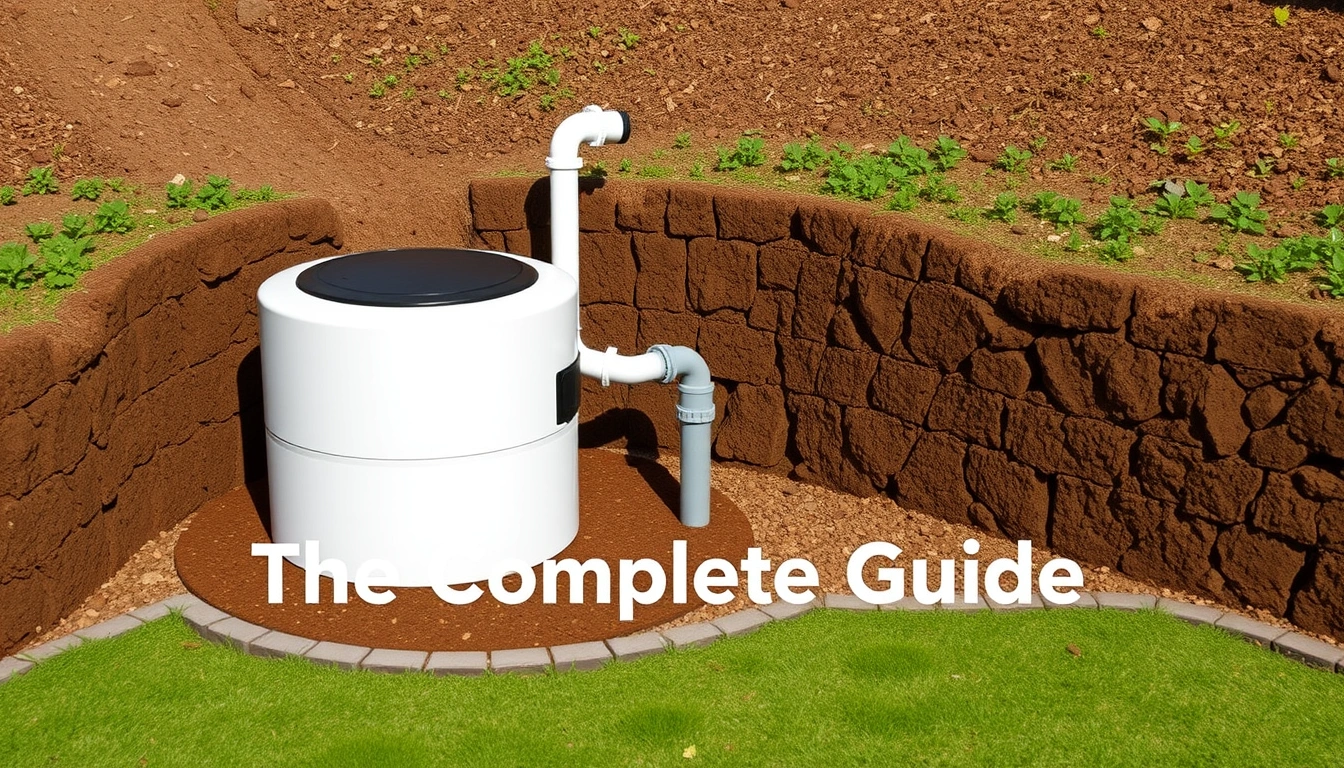
A new septic system is installed by moving from site data to permit, then from excavation to final inspection, with each step checked before the next one starts. That order matters because the buried parts are expensive to fix after the fact in the new septic system installation process.
- Confirm the site data. Measure the lot, house location, existing well locations, property lines, and suspected drain field area, then verify setback rules from the local authority. Look for steep slopes, wet areas, fill, rock outcrops, or drainage patterns after rain. A red flag is a proposed field that fits only if one setback is ignored or “probably okay” is assumed.
- Complete the soil and site evaluation. Have the soil tested or profiled to determine percolation rate, depth to restrictive layer, and groundwater level. Verify the report names the soil horizons or test results used for design. A problem is a test done in the “best-looking” corner of the lot while the actual field sits in different soil.
- Size the system. Match the design to the home’s expected wastewater flow, often based on bedroom count and local code. Verify the tank volume, field size, and any reserve area in the written design. If the plan changes the bedroom count or adds a bathroom later, that usually changes sizing too. A warning sign is a proposal that never mentions design flow at all.
- Submit for permit and wait for approval. The design, soil data, site plan, and any required fees go to the permitting office. Verify whether the permit covers only installation or also specifies inspections, materials, and setbacks. A problem is starting excavation “while the permit is pending” unless the authority explicitly allows that.
- Clear and mark the work area. Stake tank location, field lines, and inspection points before digging. Verify the marks match the approved plan within local tolerance, often a matter of feet rather than inches. A problem is moving the field to miss a tree or a driveway without a revised approval.
- Excavate with proper grades. Dig the tank pit and trench or bed to the depths shown on the plan, using laser or grade control. Verify the invert elevations, meaning the height of the pipe flow line, so sewage moves correctly by gravity. A problem is a trench that dips and holds liquid, or a tank set too high so the outlet never drains right.
- Set the tank and connect the piping. Place the tank level on a stable base, usually compacted bedding or other approved material, then connect inlet and outlet piping with the required slope. Verify inlet and outlet seals, tank level, and riser alignment if access risers are installed. A problem is a tank that rocks, settles unevenly, or has joints that are not sealed.
- Build the dispersal area. Install absorption trenches, chamber rows, a gravel bed, or another approved dispersal method with the correct distribution pipe slope and spacing. Verify the trench depth, gravel or chamber placement, and venting or distribution features required by the design. A problem is smearing the soil during wet excavation, which can seal the trench walls and cut performance.
- Inspect before covering. Call for the required inspection while the system is still visible. Verify that the inspector has access to the tank, cleanouts, and field components. A problem is backfilling before the inspection, which can trigger a costly uncovering job.
- Backfill, grade, and finish. Cover the system with the specified soil, avoid heavy compaction over tanks unless the design allows it, and grade the site so runoff flows away from the field. Verify that lids, risers, and cleanouts remain accessible. A problem is deep fill or traffic over the tank area that cracks lids or crushes piping.
- Document as-built conditions. Record the final locations and depths of tank, field, cleanouts, and any pump components. Verify that you keep the permit sign-off and as-built sketch with the property records. A problem is finishing the work with no map; that makes future repairs slower and more expensive.
The exact sequence can change by jurisdiction, but the logic doesn’t. Soil decides the design, design drives the permit, permit governs the build, and inspection locks in the result. If the installer talks about “just putting the tank where it fits” before talking about soil or setbacks, that isn’t speed. It’s trouble in a hard hat.
How much does a new septic system cost, and what changes the price?
A new septic system usually costs thousands of dollars, and the final price depends more on the site than on the tank itself. The tank is only one part of the bill; the bigger cost drivers are excavation, soil conditions, permit requirements, and the type of drain field or treatment unit the lot needs. EPA notes that conventional systems can be relatively simple, while alternative systems often add design and maintenance complexity, which affects cost. EPA Septic Systems
I don’t trust a septic estimate that sounds too tidy. A conventional gravity system is usually cheaper than a mound system, pressure distribution system, aerobic treatment unit, or other alternative design because it needs less equipment and less specialized construction. But that general rule can flip if the site is hard to access, the excavation is deep, or the soil is poor. A “simple” system on a bad lot can cost more than an alternative system on an easy lot. Costs also vary by region and permitting fee schedule, so ask for a local written quote rather than relying on national averages alone. University of Minnesota Extension: Septic System Cost
The main price drivers are:
– Soil and groundwater conditions. Deep groundwater, clay, or bedrock can force a more complex system.
– Tank size and material. Concrete, fiberglass, and polyethylene each have trade-offs in weight, durability, and handling.
– Drain field size. More bedrooms usually mean more field area and more pipe or chamber length.
– Excavation difficulty. Rock, slopes, trees, and tight access add labor.
– Permitting and engineering. Some sites need stamped drawings or engineered designs.
– Pump or electrical components. Pressure systems and lift pumps add both installation and future service needs.
If you want a meaningful quote, ask for a written breakdown with at least these parts: site prep, excavation, tank, piping, drain field components, pump or control panel if any, permit fees, inspection coordination, and final grading. That lets you compare bids that are actually comparable. Two prices that differ by several thousand dollars may not be apples to apples if one includes the pump, cleanouts, or final topsoil and the other does not.
I’d be cautious with the lowest bid if it leaves out soil work or final restoration. A contractor can sometimes shave the price by skipping details the inspector will later require. That isn’t savings; it’s a bill that shows up later. On the other hand, the highest bid is not automatically best. Some companies price in a lot of contingency for uncertain site work. On a simple, well-drained lot, that may be more than you need.
A good question to ask is: “What would make this price go up after excavation starts?” If the answer is vague, assume the answer is hidden. You want the contractor to name the likely change orders before the first bucket of soil comes out.
How long does septic installation take?
A septic installation can take a few days of field work or stretch across several weeks once permitting, weather, and inspections are included. The buried work is often fast; the waiting is what slows the job in the new septic system installation process.
For a straightforward conventional system on a clear lot, the physical installation may take around 2 to 5 working days once the permit is in hand and the excavation crew can get in. That does not include the site evaluation, design, permit review, or any delays caused by rain, frozen ground, or inspection scheduling. If the system needs an engineered design, pump chamber, mound, or advanced treatment unit, the timeline can become much longer because the design review and parts coordination take time.
Weather matters more than people expect. Wet clay smears and compacts badly. Frozen ground slows excavation. Heavy rain can ruin a drain field trench if the soil is saturated. In cold climates, frost depth can force deeper excavation or seasonal scheduling limits. In wet seasons, a contractor may do the tank work first and delay the field until conditions improve. That isn’t necessarily a bad sign; it can be the right move to protect the soil.
A good result is not just “the hole is backfilled.” It is a system that meets grade, has accessible lids and cleanouts, passes inspection, and leaves the yard shaped so stormwater drains away from the field. If the contractor rushes and leaves mounds, depressions, or tire ruts over the field, that surface work matters. Water should not pool above the dispersal area.
For planning, I’d ask about three timelines:
1. The time from soil evaluation to permit approval.
2. The time from permit approval to excavation start.
3. The time from excavation to final inspection and backfill.
Those are different clocks. A contractor who gives only one answer is skipping the real bottleneck.
What does a bad septic installation look like?
A bad septic installation usually looks ordinary on top and wrong underneath. The visible signs are often subtle at first, but the buried mistakes show up as odors, wet spots, slow drains, surfacing effluent, or a system that needs pumping far more often than it should.
The biggest warning sign is poor elevation control. If the tank and drain field are not set to the approved grades, wastewater may not flow correctly. Too little slope in the piping can cause solids to settle in the pipe. Too much slope can let liquid outrun solids, which also creates trouble. A level issue with the tank can stress the structure and confuse inlet and outlet function.
Another common failure is soil damage during construction. If trenches are cut into wet soil and smeared by equipment, the sides can seal and reduce absorption. That mistake is hard to see after backfill. The field may pass inspection and still perform badly a year later. A classic case of the tail wagging the dog.
Other signs of a bad install include:
– No cleanouts or no easy access to the tank lids.
– A field placed where stormwater runs across it.
– Pipe connections that are not sealed or that sag between supports.
– Backfill that settles sharply over the tank or trenches.
– A design that ignores trees, roots, or future vehicle traffic.
A system can also be “bad” on paper before it is built. If the design depends on unrealistic assumptions about occupancy, ignores the lot’s wet area, or treats a marginal soil report as if it were ideal, the problem starts at the drawing stage. That’s why I care as much about the design package as the digging.
What does a good install look like? The tank and field are where the approved plan says they should be. The lids are accessible. The yard is graded away from the system. The inspector signs off without requiring corrections. The owner receives a sketch and knows where everything is. A good job often looks quiet because the important parts are hidden and correct.
When should you stop the job and do something else?
You should stop or change course when the site conditions, permit status, or design details no longer match a conventional septic installation. In those cases, pushing ahead usually creates a repair bill later.
There is no approved permit yet: the installation would be out of sequence and may be illegal — wait for written approval before digging, even if the contractor says the office is “fine with it.”
The soil report shows shallow groundwater or bedrock: the standard trench layout may not function — switch to an engineered alternative such as a mound, drip, or other approved system if the authority allows it.
The field area gets standing water after rain: the soil is likely too wet or the site drains poorly — move the field, raise the design, or look at a different treatment approach.
The house plan changed after the design was approved: the bedroom count or flow may no longer match the permit — revise the design before installation, because a larger flow than approved can create compliance problems.
The lot cannot meet setbacks from a well, stream, property line, or foundation: the system may be impossible in the current location — stop and have the designer rework the layout rather than forcing a violation.
Heavy equipment has already smeared the trench area in wet weather: the absorption surface may be damaged — do not cover it and hope; have the area reassessed or relocated.
The contractor wants to “fix it in the field” without updated drawings: that usually means the approved plan is being ignored — require