Step-by-Step: How a New Septic System Is Installed
Last updated: September 10, 2026
Key Takeaways
- The bottom is leveled with compacted granular bedding or as the manufacturer specifies, often 6 to 12 inches depending on tank type and soil.
- A typical installation can take 2 to 5 days on a straightforward site, but weather, inspections, and pump components can stretch that longer.
- I am not treating this like a casual DIY project; consult a licensed septic professional before you start.
- In many counties, those steps are regulated and tied to a permit.
A new septic system gets installed by testing the soil first, then designing the field around that soil, getting the permits, excavating for the tank and drainfield, setting the tank level, laying the distribution piping, backfilling with care, and checking everything before the system goes into service. Short version? That is the answer for step-by-step: how new septic system is installed. It is not a one-day dig-and-done job. Honestly, the site work matters just as much as the tank itself. The U.S. Environmental Protection Agency notes that septic systems need proper design, installation, and maintenance to function as intended. EPA
Who this applies to, and what I assume you already know

A homeowner replacing a failed septic system — or putting in a first-time one on a property that is not tied to municipal sewer — is the person this is for. I am assuming you already know the basic job of the system: separate wastewater into solids, liquids, and soil treatment, not “filter everything” inside the tank. I am also assuming there is enough room for a drainfield, that a licensed installer or septic contractor is being considered, and that you want the sequence before signing anything. The CDC and EPA both emphasize that septic systems are site-specific and should be installed and maintained by qualified professionals. CDC EPA
I am not treating this like a casual DIY project. Some pieces are owner-friendly: learning the terms, checking setbacks on a survey, asking for permit copies, and confirming the tank size and drainfield layout. The parts that usually need qualified help are the soil evaluation, design, excavation, tank setting, pipe slope, and final inspection. In many counties, those steps are regulated and tied to a permit. If your lot is small, steep, wet, rocky, close to a well, or near surface water, the standard approach may not fit at all, so consult a licensed septic professional before work begins.
Local rules drive septic work. Percolation tests, trench depth, reserve area rules, setbacks from wells, streams, property lines, and seasonal water tables vary by county and state. On flat sandy ground, the design can be simple. In clay, shallow bedrock, or high groundwater, the system may need a larger drainfield, a mound, pressure dosing, or a different treatment unit entirely; that is why a local septic designer or health department review is worth getting before you commit. A contractor who talks only about “putting in a tank” is waving a red flag. A standard drainfield can fail where a site needs a mound or advanced treatment, and the National Small Flows Clearinghouse and state health codes routinely stress matching the design to the site conditions. EPA
If you are calling around, ask who handles the permit package, who performs the soil test, and whether the price includes excavation, stone or chamber system, risers, distribution box, and final inspection. A clean quote usually explains the scope. A vague one usually hides change orders. In 2024, septic tank replacement costs commonly ranged from about $3,000 to $7,000 for the tank alone, while full systems often landed in the $8,000 to $25,000 range depending on site work and design, according to HomeAdvisor and Angi. HomeAdvisor Angi
What has to happen before the first hole is dug
The installation starts well before excavation. The site has to be evaluated, measured, and approved. A proper soil and site assessment looks at texture, depth to restrictive layers, depth to seasonal groundwater, slope, and setbacks. In many places, that assessment leads to a percolation test or a soil profile pit. A perc test measures how fast water moves through the soil; a profile pit shows the layers themselves. They are not the same thing in every jurisdiction, and one does not always replace the other.
Start with a property survey, or at least a scaled site plan, from the contractor or designer. That plan should show the house, well, driveway, existing utilities, property lines, streams, drainage swales, and the reserved replacement area. If a county requires 100 feet or more from a well to a septic component, the system must be laid out accordingly; the exact distance depends on local code. No setbacks talk? Stop and ask why. Local health departments and state permitting agencies typically require those measurements before approval. EPA
System type gets chosen here, too. A conventional gravity system uses a tank and sloped pipe to a drainfield. If the lot cannot support gravity flow, a pump chamber may push effluent to a higher field. If the soil is tight or shallow, chambers, sand filters, drip irrigation, or a mound may be needed. I would be cautious with any installer who recommends the simplest system without showing how the soil supports it. The cheapest layout is not the best one if it fails the first wet season, especially where soil loading rates and groundwater limits are tight. That math stops working fast.
Permits come next. In many jurisdictions the health department or environmental agency must approve the design before digging starts. A permit set often includes the site plan, soil data, tank specifications, and drainfield dimensions. Budget-wise, a septic installation is often a five-figure job, and the price moves with excavation difficulty, tank material, pump equipment, and drainfield type. If someone gives you a fixed price without seeing the site, they are guessing or protecting themselves with exclusions. In 2024, many U.S. installs still fell in the $10,000 to $20,000 range once excavation and drainfield work were included, though difficult sites can run higher. HomeAdvisor Angi
How a new septic system is installed, step by step
A new septic system is installed in a set order, and the order matters because one mistake early on can wreck the rest of the job. The contractor should be able to explain each phase before work begins. For step-by-step: how new septic system is installed, the sequence below is the part most homeowners need to understand.
- Stake the approved layout on the ground. Using the permitted plan, the installer marks the tank, inlet, outlet, distribution box, drainfield trenches, and reserve area, usually with stakes and string lines. Verify that the marks match the permit and do not drift closer to a well, property line, or ditch than the approved setbacks. If the field looks “adjusted on site” without written approval, that is a problem because it can invalidate the permit.
- Excavate to the required depth and grade. The tank pit and trenches are dug to the engineered depth, often with trench bottoms level or with only a slight fall depending on the design. Verify the depth against the plan and keep heavy rain out of open excavations. Overdigging, muddy bottoms, or loose sidewalls are a problem; those conditions can collapse later or force the field deeper than allowed.
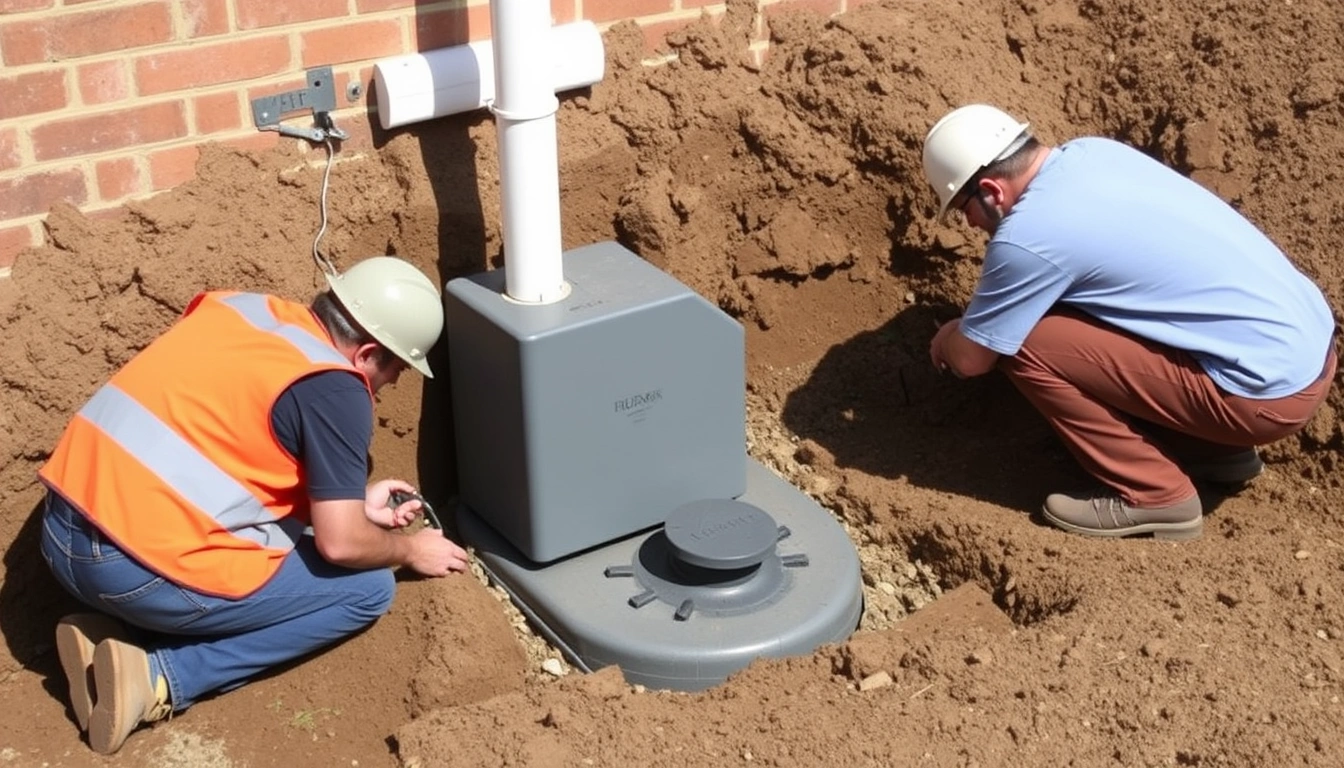
- Prepare a stable base for the tank. The bottom is leveled with compacted granular bedding or as the manufacturer specifies, often 6 to 12 inches depending on tank type and soil. Verify that the base is flat and uniform before the tank is set. Rocking or uneven support is a problem, and it can crack concrete tanks or distort polyethylene tanks when they are backfilled.
- Set the septic tank perfectly level. With inlet and outlet aligned to the pipe runs, the tank is lowered into place. Verify level both lengthwise and side-to-side with a laser or builder’s level. A tank tipped even slightly is a problem; it can affect scum retention, outlet flow, and pump operation.
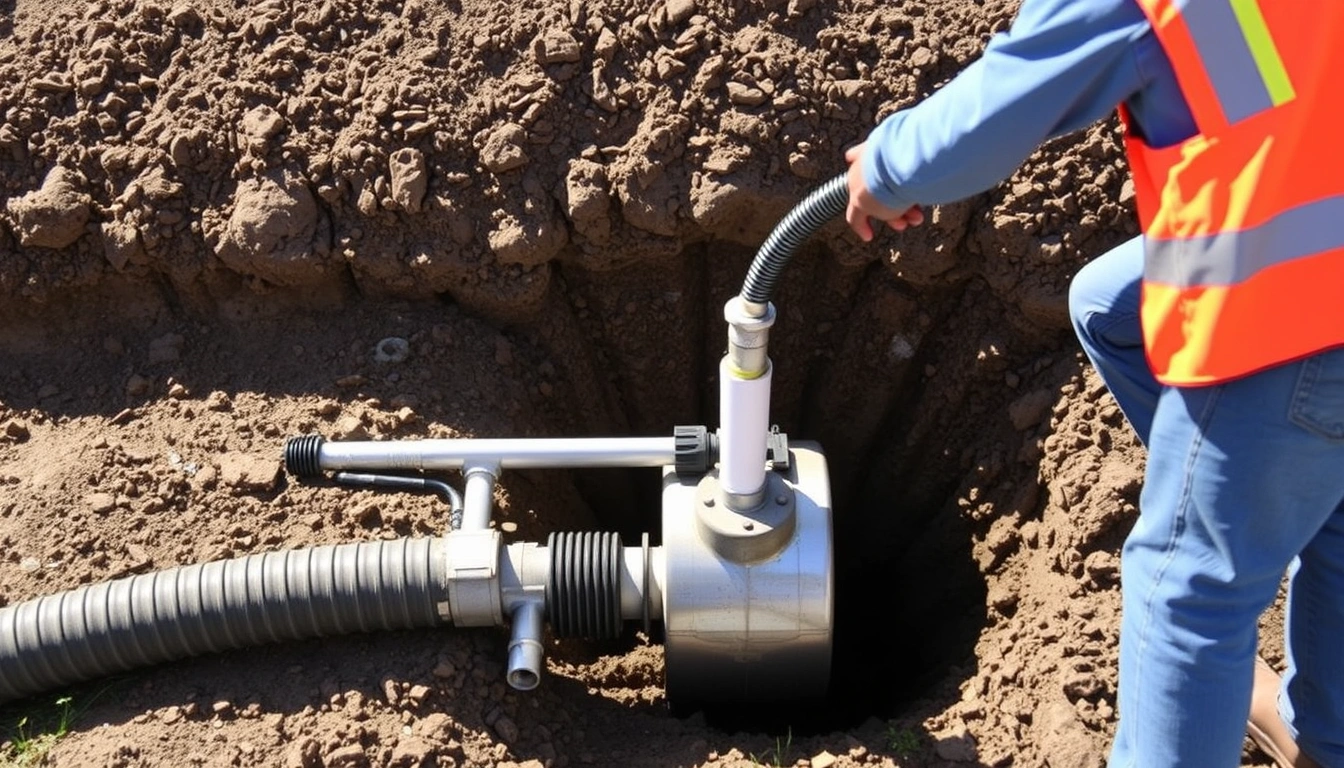
- Install inlet, outlet, and filters. The house sewer enters the tank, the outlet flows to the drainfield or pump chamber, and many modern systems include an effluent filter at the outlet tee. Verify gasket seals, pipe alignment, and that the filter is accessible from grade through a riser. A crooked connection, loose rubber boots, or a filter buried so deep that routine maintenance becomes difficult — that is a bad setup.
- Place the distribution box or manifold. If the system uses one, the distribution box sends effluent evenly to multiple trenches. Verify that the box is level and that outlet elevations are balanced. An unlevel box is a problem because one trench will get overloaded while another stays dry.
- Build the drainfield with the right media and slope. The trenches are filled with washed stone, chambers, or another approved medium, then laid with perforated pipe where required. Verify trench spacing, pipe holes facing down or per design, and the correct pitch—often very slight, not steep. Too much slope sends flow to the end of the line; too little support lets the pipe settle.
- Install risers, lids, vents, and alarms if needed. Risers bring access openings to grade; pump systems may also need an alarm panel and float controls. Verify that lids are sealed, secured, and visible for service. Buried access points are a headache, because future pumping or repairs turn into excavation work.
- Backfill in lifts and protect the field. The contractor backfills in layers, usually compacting gently and avoiding large rocks or construction debris. Verify that heavy equipment stays off unfinished trenches and that the crown and final grade shed surface water away from the field. Driving over the drainfield or leaving a low spot that collects runoff is a problem.
- Test the system before final approval. Water is run through the house plumbing or introduced by the installer to confirm flow, check for leaks, and verify pump cycling or gravity distribution. Verify that effluent reaches the field evenly and that alarms, if present, work. Standing water around the tank, wet seams, gurgling drains, or an alarm that signals immediately — all of that points to trouble.
A typical installation can take 2 to 5 days on a straightforward site, but weather, inspections, and pump components can stretch that longer. Sometimes it moves faster than a full replacement if the layout is simple; sometimes it crawls if bedrock or groundwater forces redesign. The cleanest jobs are the ones where the contractor waits for inspection at the right stage instead of burying everything and hoping for approval later.
What should you ask a septic contractor before you sign?
Ask who is responsible for design, permitting, excavation, inspection scheduling, and final grading. That question tells you whether you are hiring one coordinator or trying to manage five subcontractors yourself. Ask to see the site plan, tank size, and drainfield type in writing. If the quote does not specify whether the system is gravity, pump-assisted, chamber, or mound, the price comparison is meaningless. The EPA recommends confirming the system type and maintenance plan before installation, and local health departments often require those details in the permit packet. EPA
I would also ask what is excluded. On septic work, the exclusions are often where the real cost appears: tree removal, rock hammering, extra fill, utility locates, long pipe runs from the house, electrical work for a pump chamber, replacement of damaged paving, and hauling spoils off site. A contractor who is honest about exclusions is easier to work with than one who slides them in after excavation starts. Small print can bite.
Ask how inspections are handled. Many counties inspect after excavation and again before backfill. If the installer backfills before the inspector signs off, that is a problem. Ask whether the price includes the inspection call, the as-built drawing, and startup for the alarm panel if there is one. Ask whether the tank has access risers to grade, because buried access points are a maintenance headache from day one.
Finally, ask for the local maintenance schedule. A standard tank usually needs pumping every 3 to 5 years, but the real interval depends on tank size, household use, and solids buildup. A contractor who says “you won’t need to think about it for a long time” is not helping. A better answer is the service interval your county or designer recommends for that system type. The EPA also notes that routine inspections and pumping help prevent backups and field failure. EPA
When should you stop and change the plan?
Stop and change the plan when the site or the paperwork shows the standard system will not work. This is where people save money by avoiding a bad install, not by pushing through. So the safest move is often to pause and get a revised design rather than forcing the original plan.
High groundwater during the test pit: It means the soil may not provide enough unsaturated treatment depth — switch to a raised bed, mound, or another approved alternative before digging deeper.
Bedrock or large ledge within the required trench depth: It means the drainfield cannot be built to conventional depth — get a redesign instead of forcing shallow trenches that fail inspection.
Clay soil that stays smeared and sticky after excavation: It means water will move too slowly — use the approved alternative for low-permeability soil, not a standard gravity field sized like sandy soil.
Setback conflicts with a well, stream, or property line: It means the approved layout does not fit the parcel — move the field or choose a different technology, because “close enough” is not close enough.
No permit or no final inspection scheduled: It means the work may not be legal or may never be accepted — stop and get the paperwork corrected before the trench disappears under backfill.
Collapsed trench walls or a muddy trench bottom: It means the soil structure is compromised — dry the site, re-excavate, or redesign, because backfilling over a soft base shortens the life of the field.
Signs the house sewer line is broken or bellies underground: It means the new septic system will not fix the real problem — repair the building sewer first, or the tank will never receive flow correctly.
Ignoring those stop signs does not create a cosmetic flaw. Usually it leads to a failed inspection, a system that ponds effluent, or a replacement bill years earlier than expected. If a contractor keeps digging when the site is clearly wrong for the approved design, I would treat that as a reason to pause, not to “see if it works out.”
The mistakes that turn into expensive septic problems
The most common mistake is sizing the system from the house count alone. A three-bedroom house on sandy soil and a three-bedroom house on clay do not need the same layout. The consequence is an undersized or mismatched drainfield. The correct alternative is to size from the soil evaluation and the local code, not from a guess.
Another mistake is setting the tank out of level by a small amount. A half-inch may not look dramatic, but it can affect inlet and outlet performance, especially on concrete tanks with baffles and tees. The consequence is poor flow and service problems. The correct alternative is to level the tank before any pipe is glued.
A third mistake is using the wrong backfill. Large rocks, construction debris, or uncompacted spoil can damage the tank or leave voids around piping. The consequence is settling and broken lines. The correct alternative is clean fill placed in lifts and compacted as specified.
A fourth mistake is ignoring surface drainage. If roof runoff, driveway runoff, or yard swales drain onto the field, the soil is overloaded before the wastewater even arrives. The consequence is a saturated drainfield. The correct alternative is to grade the site so water moves away from the septic area.
A fifth mistake is burying access points. Without risers, every pump-out or repair becomes an excavation. The consequence is higher maintenance cost and more wear on the system. The correct alternative is to bring service openings to grade with secure lids.
A sixth mistake is assuming the inspection can wait. The consequence is a partially buried system that cannot be properly checked, and that can turn a small correction into a major dig-up. The correct alternative is to schedule the inspection at the required stage and keep the trench open until it passes.
If you want a final sanity check, ask one simple question: does this plan still work after a heavy rain, a failed inspection, or a future pump-out? If the answer is no, it is not ready.